Getting Started
Follow these simple steps to configure Ridelytics and start making smarter driving decisions.
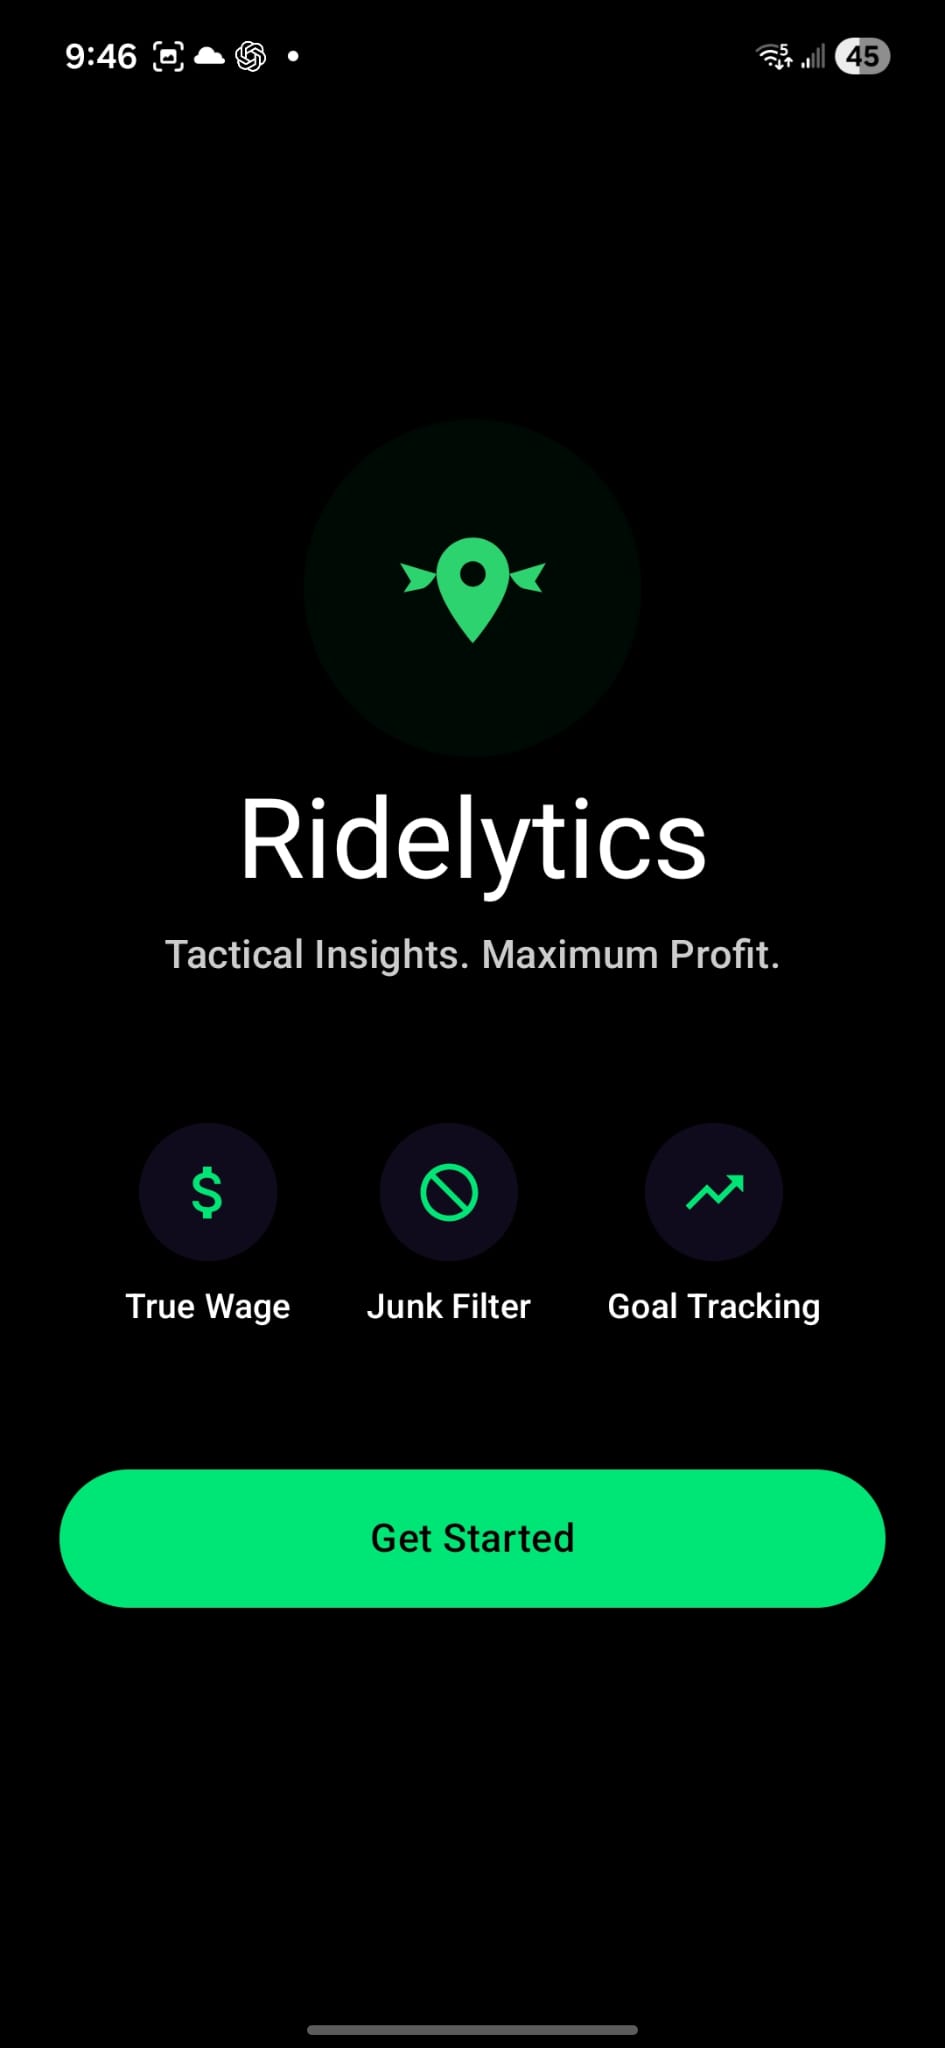
Welcome to Ridelytics
Start by launching the application. You will be greeted by the Welcome Screen.
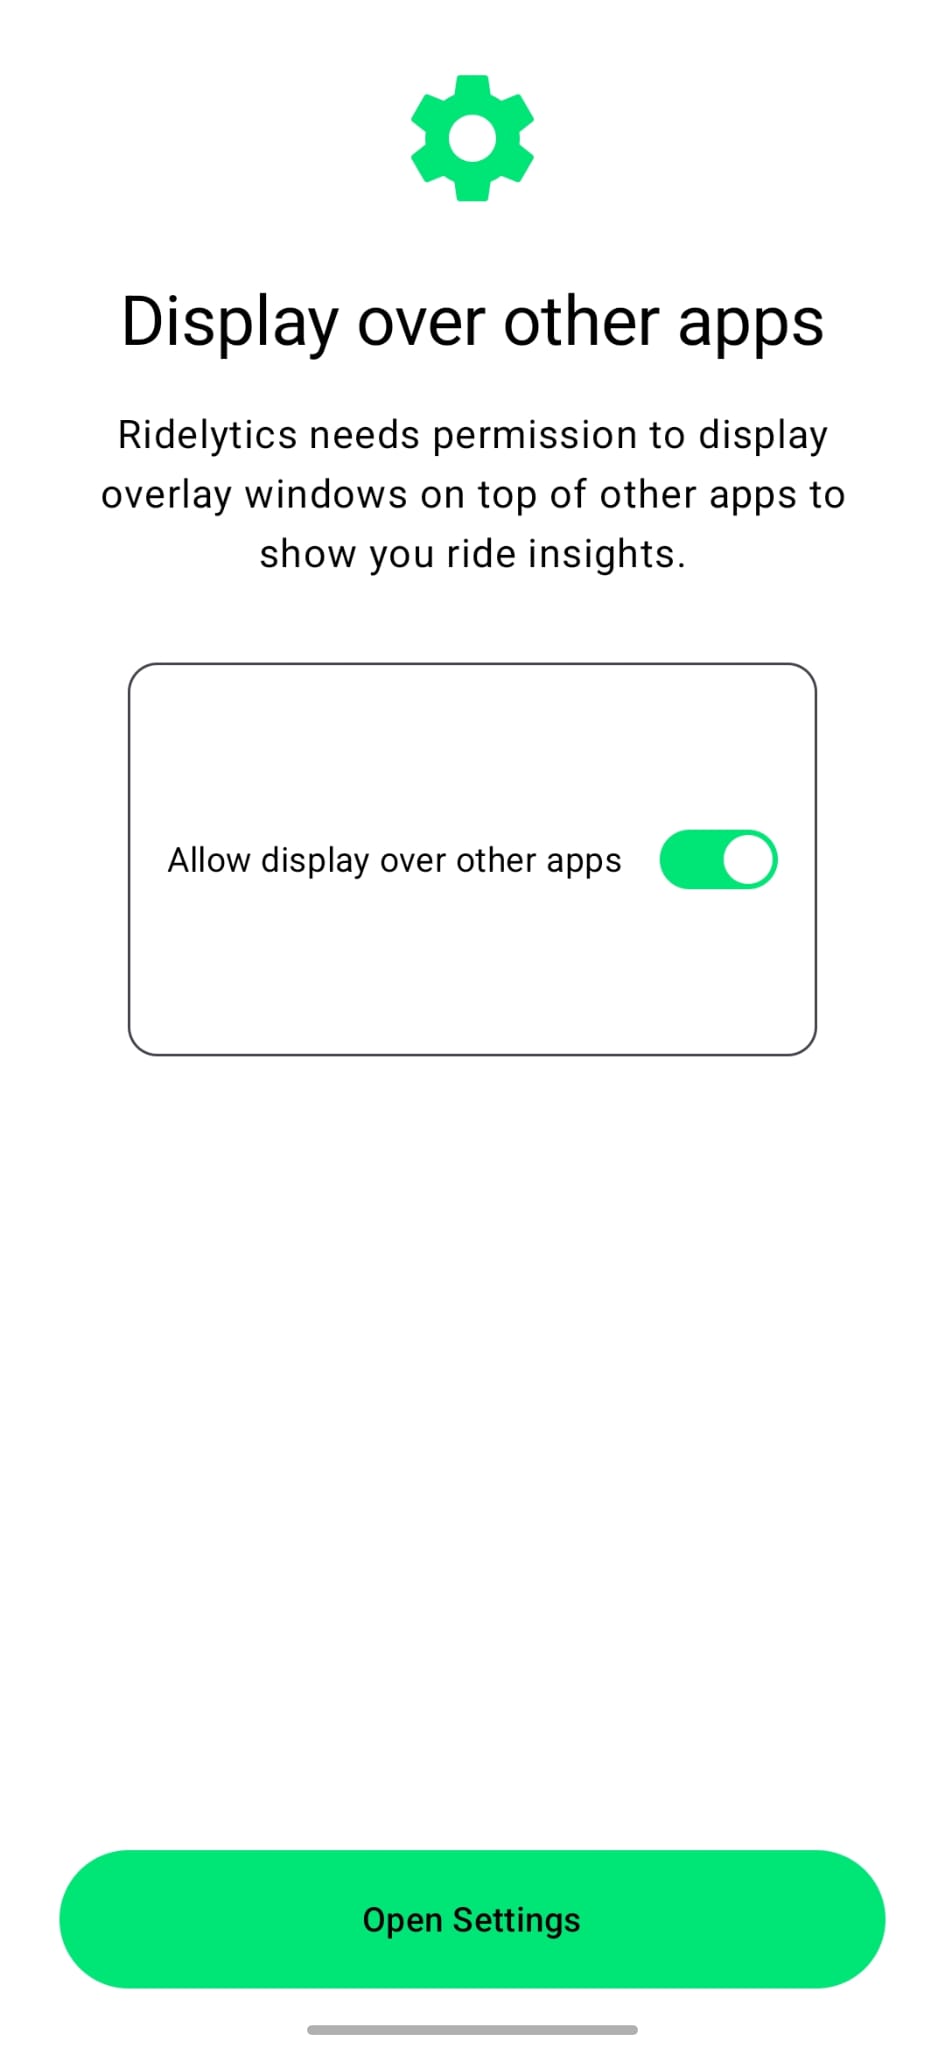
Overlay Permission Request
You will see a prompt to let you know that you need to allow Ridelytics to display on top of other apps.
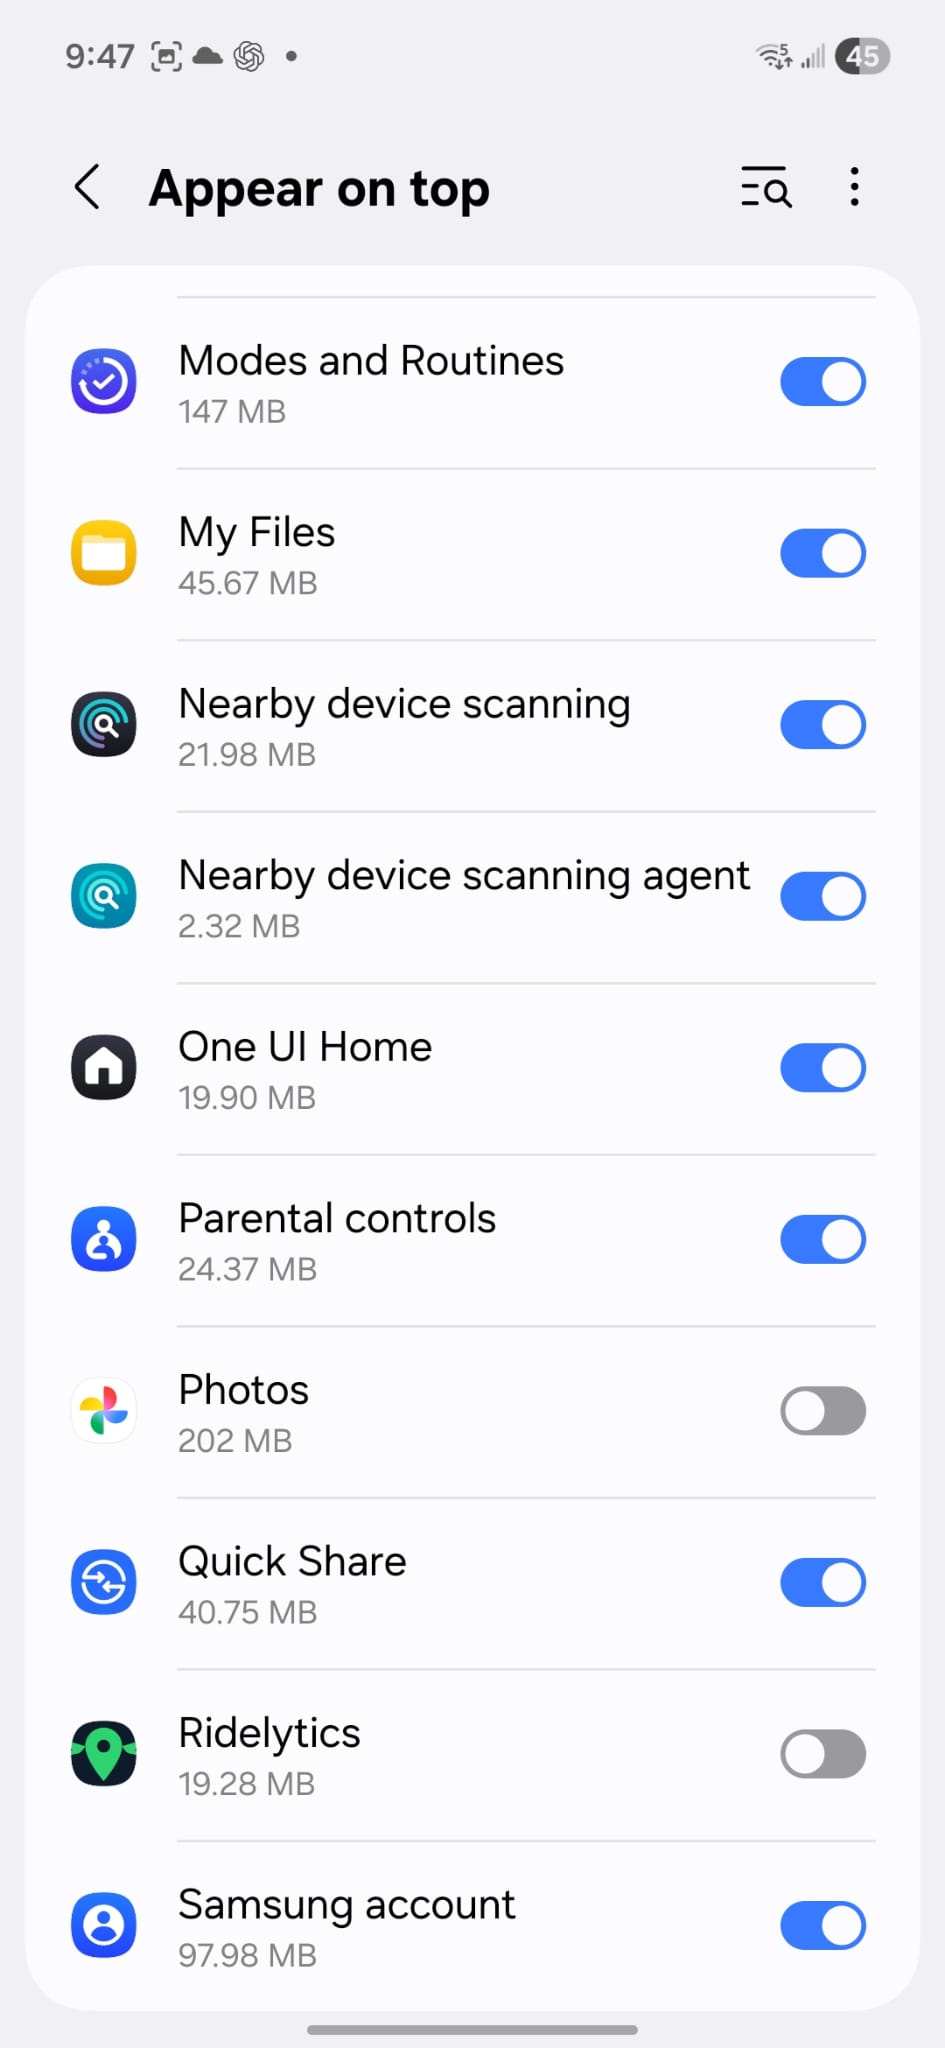
Enable Display Over Other Apps
Upon pressing "Open Settings", the "Appear on top" screen is displayed. Toggle Ridelytics to enabled.
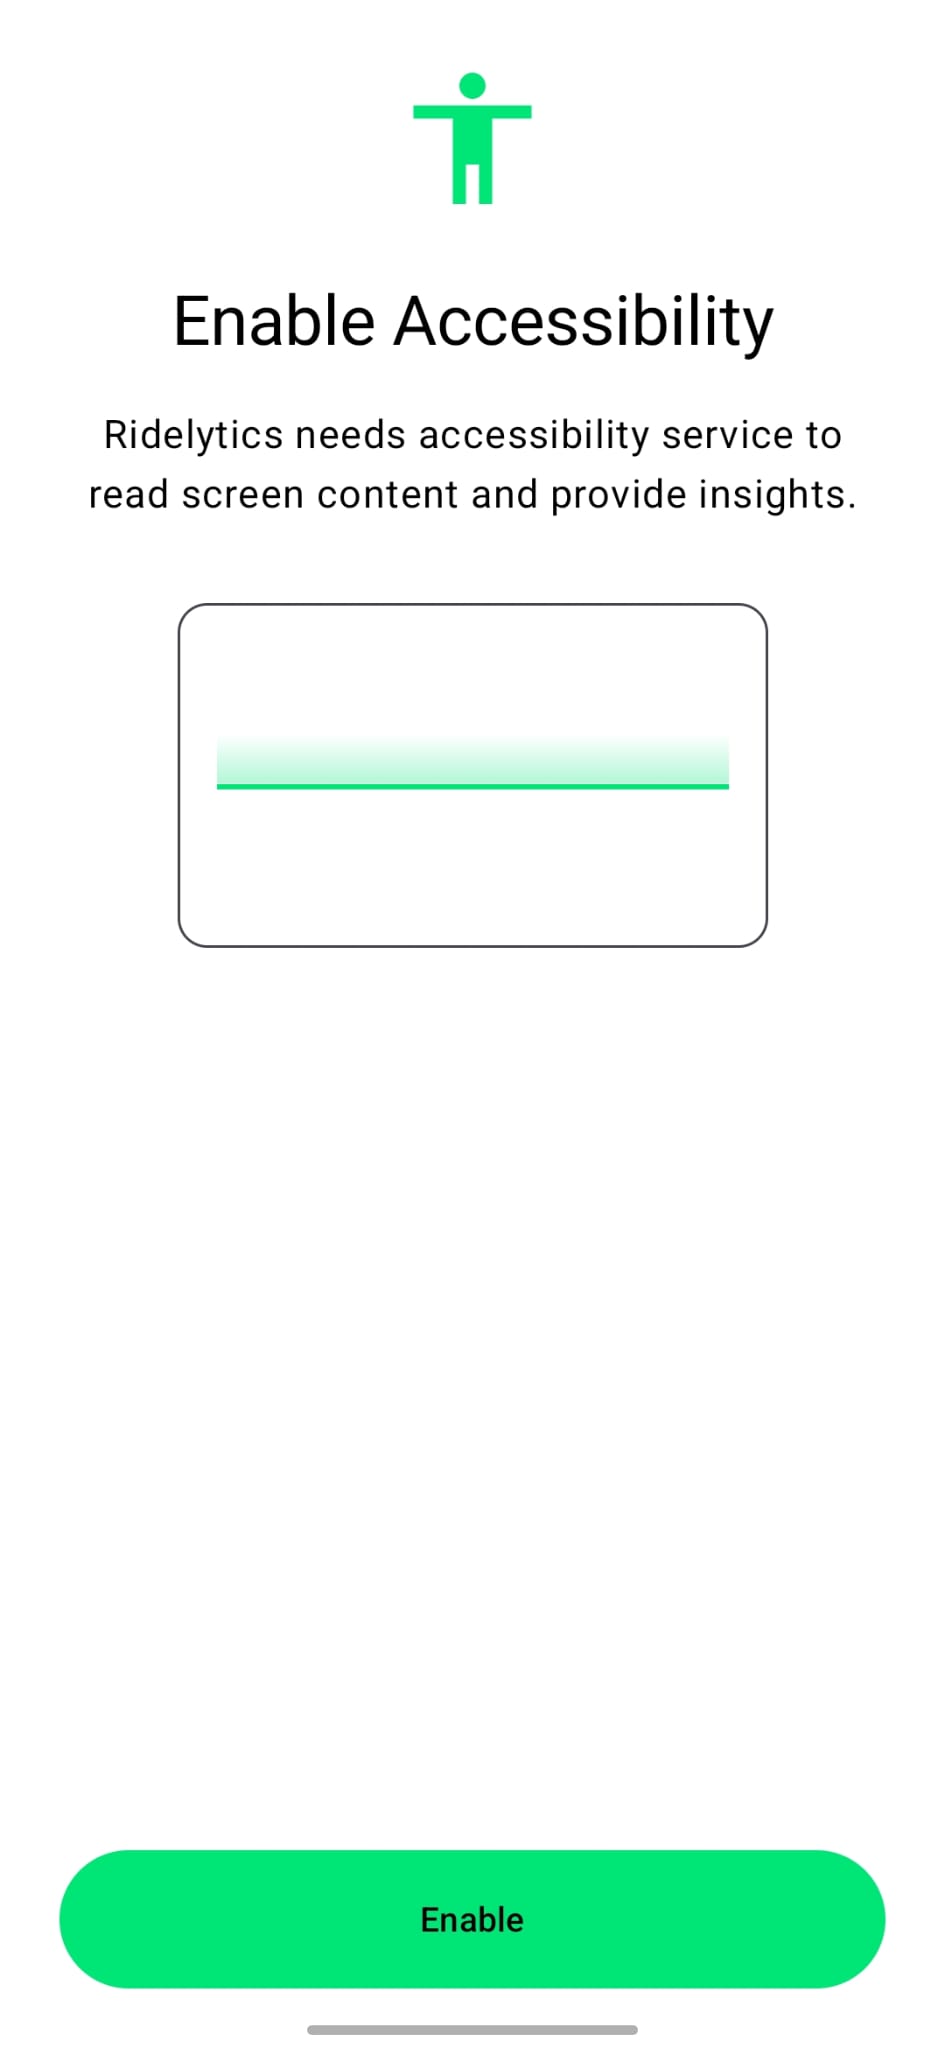
Accessibility Permission Request
Once "Appear on top" is toggled, navigate back. You will be informed to enable accessibility.
Accessibility Settings
Upon pressing "Enable", you are navigated to Accessibility settings. Look for "Installed apps".
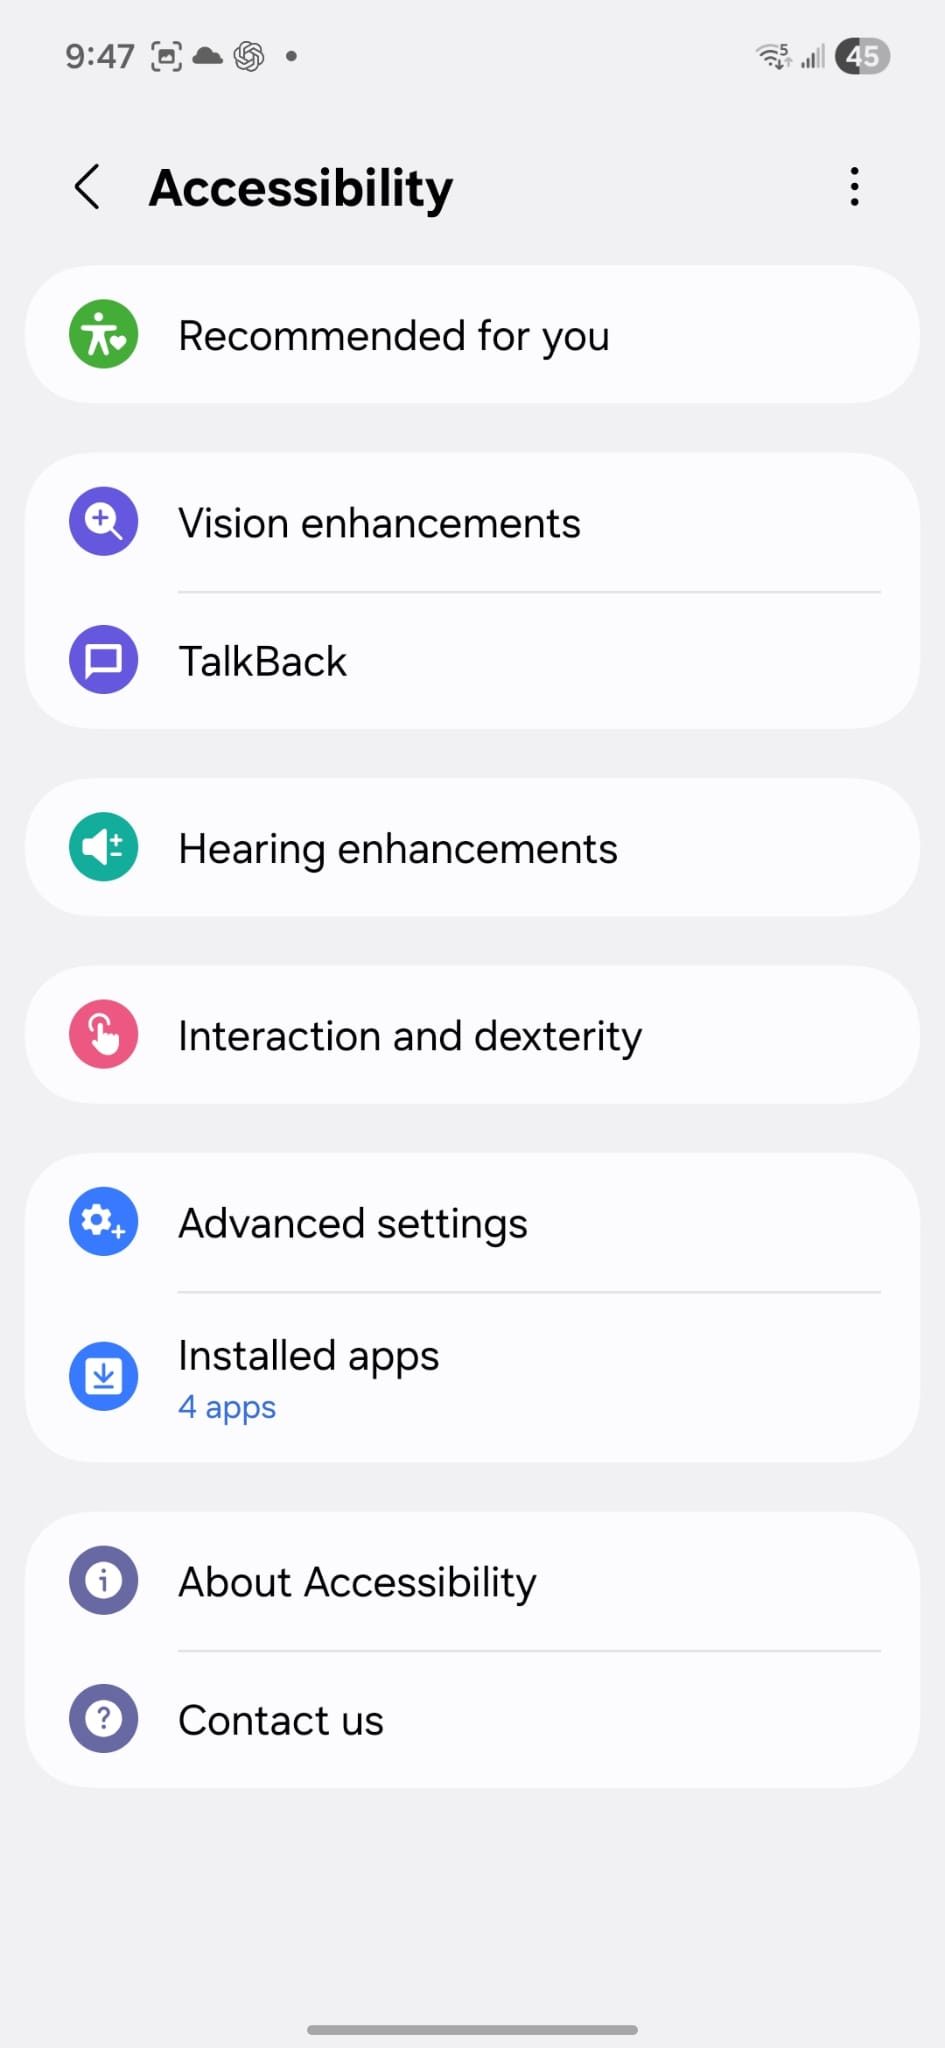
Find Ridelytics
Press "Installed apps" to see the list of apps. Find "Ridelytics" in the list.

Enable Service
Upon pressing "Ridelytics", you will see the shortcut toggle. Toggle it on.
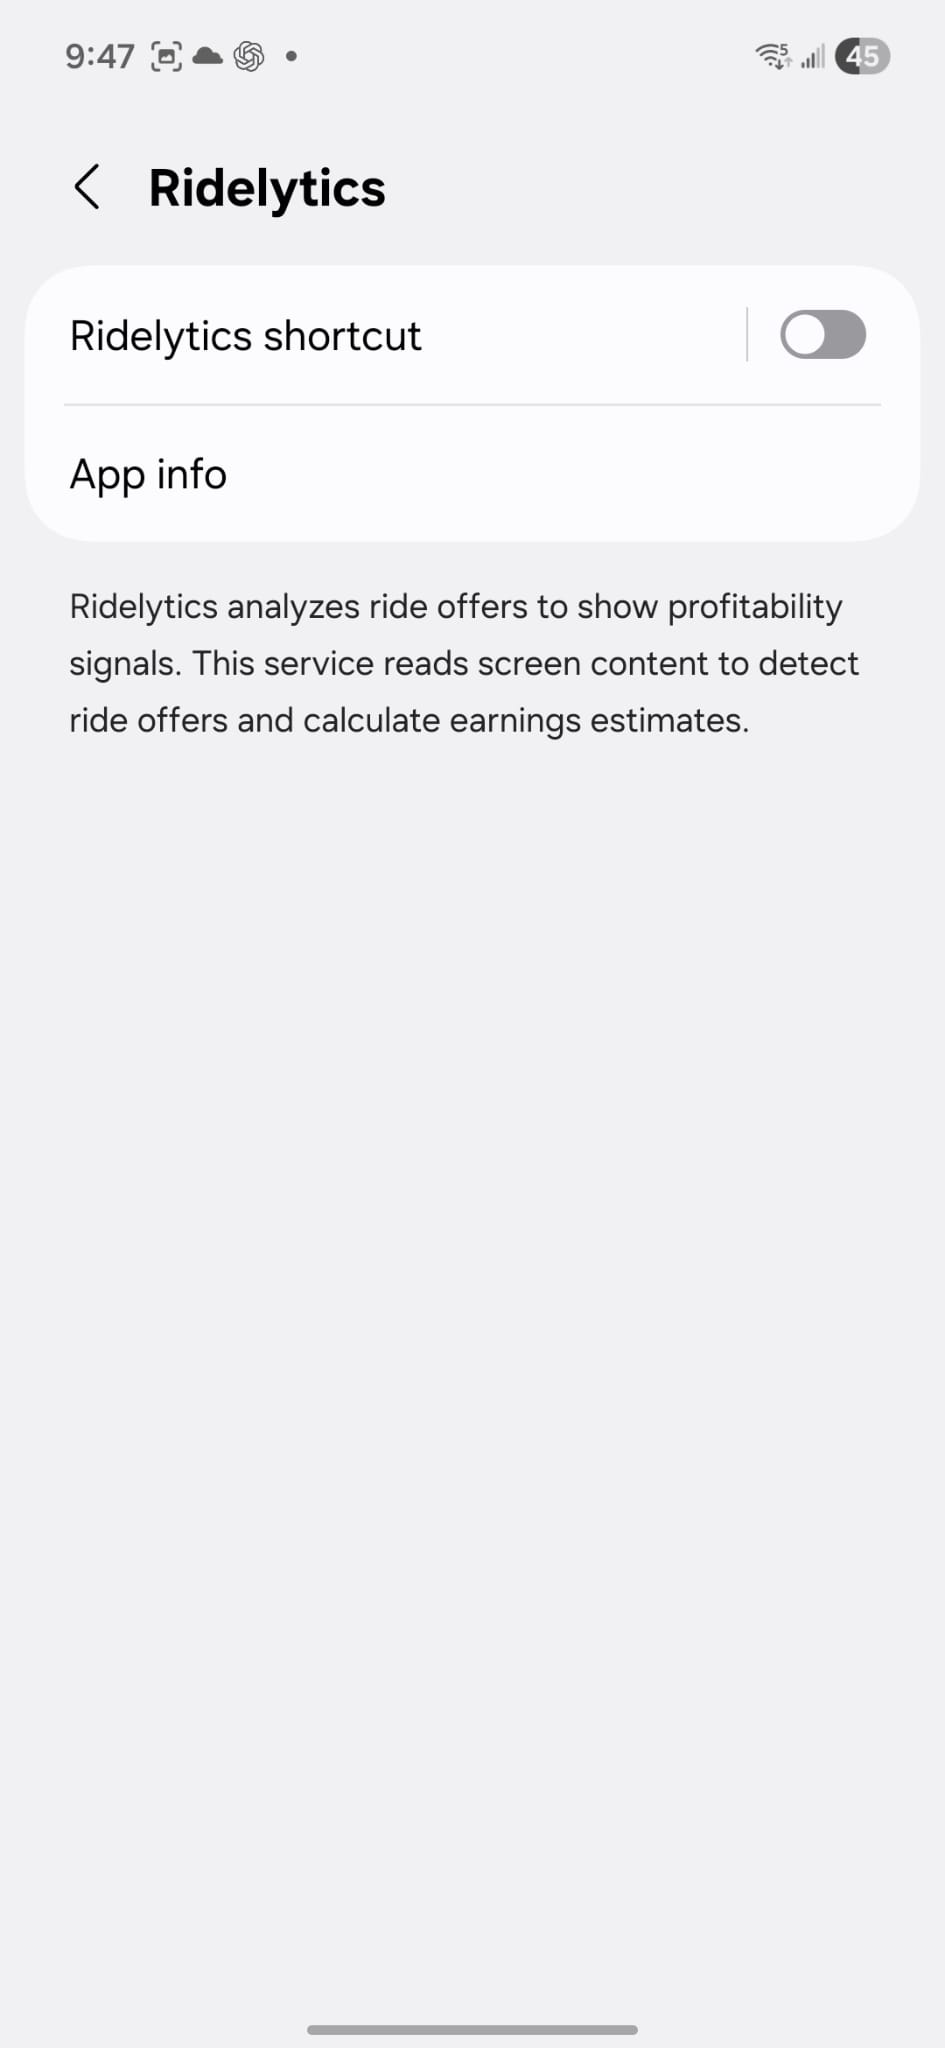
Confirm Permissions
Upon enabling the Ridelytics shortcut toggle, you will be prompted to allow accessibility access.

Ready to Drive
When accessibility is enabled, navigate back to the dashboard. You are now ready to use Ridelytics.
